Deploying Authorizer with AWS

I’m Lakhan Samani from India 🇮🇳. I’m the creator and maintainer of authorizer.dev | Freelance Software Engineer | Prev: Cloud Software Engineer at ArangoDB. I am passionate about building products and developer tools. This website is my internet space, where I write about Building Software | Open Source | Finance and Life.
Hello people, on 3rd November 2022 I had amazing opportunity to speak at AWS community (Vadodara) event happening in my city. In presented on using Authorizer with DynamoDB and EKS.
Authorizer is database independent open source auth solution. It supports 12+ databases including all the major SQL, NoSQL and Graph databases.
So, as a part of demo I created a Task Manager (TODO) application, which will allow authenticated user to
- Create Task
- Watch their own tasks
- Mark Task as done
- Delete Task
The tech stack we will be using is:
- DynamoDB to store user information and tasks
- Authorizer Service to authenticate and authorize users
- GoLang Gin Server to create tasks apis
- React to create frontend application
- EKS to deploy authorizer & go-gin server
- Netlify to deploy frontend application
Here is a small architecture diagram demonstrating how the overall application will look like

Code Repository
Github Repository: This repository contains code for TODO API, Frontend Application, EKS Cluster Creation, Ingress / Domain Setup
Let's Get Started
Prerequisite
- aws account
- iam user with permission for DynamoDB, EKS, EC2, IAM Policy Creation, Route53, EBS Controller
- kubectl
- awscli
- eksctl
- helm
- Configure AWS profile on your machine with user credentials
Export your AWS credentials
  aws configure --profile PROFILE_NAME
  export AWS_PROFILE=PROFILE_NAME
  export AWS_ACCESS_KEY_ID=YOUR_ACCESS_KEY_ID
  export AWS_SECRET_ACCESS_KEY=YOUR_SECRET_ACCESS_KEY
Step 1: Clone the Repository
git clone <https://github.com/lakhansamani/authorizer-aws-demo.git>

cd authorizer-aws-demo
Step 2: Create EKS Cluster
Note: You can update machine configuration in eks.yaml file.
eksctl create cluster -f eks.yaml
Step 3: Install Nginx Ingress
helm repo add ingress-nginx <https://kubernetes.github.io/ingress-nginx>

helm repo update

helm upgrade --install ingress-nginx ingress-nginx/ingress-nginx \\
 --namespace ingress-nginx \\
 --create-namespace \\
 --timeout 600s \\
 --debug \\
 --set controller.publishService.enabled=true
Step 4: Install Cert Manager
Cert manager is used to generate TLS certificate
helm repo add jetstack <https://charts.jetstack.io>

helm repo update

kubectl apply -f <https://github.com/cert-manager/cert-manager/releases/download/v1.8.2/cert-manager.crds.yaml>

helm install \\
 cert-manager jetstack/cert-manager \\
 --namespace cert-manager \\
 --create-namespace \\
 --version v1.8.2
Step 5: Install Authorizer
Note: Please change authorizer.authorizer_url as per your domain and URL.
helm repo add authorizer <https://helm-charts.authorizer.dev>

helm repo update

helm install \\
 --set authorizer.database_type=dynamodb \\
 --set authorizer.aws_access_key_id=${AWS_ACCESS_KEY_ID} \\
 --set authorizer.aws_secret_access_key=${AWS_SECRET_ACCESS_KEY} \\
 --set authorizer.aws_region=us-east-1 \\
 --set authorizer.authorizer_url=https://auth.aws-demo.authorizer.dev \\
 --set redis.install=true \\
 --set redis.storage=5Gi \\
 --set redis.storageClassName=gp2 \\
 --set securityContext.readOnlyRootFilesystem=false \\
authorizer authorizer/authorizer
Step 6: Create Route53 Hosted Zone
- Create Hosted Zone
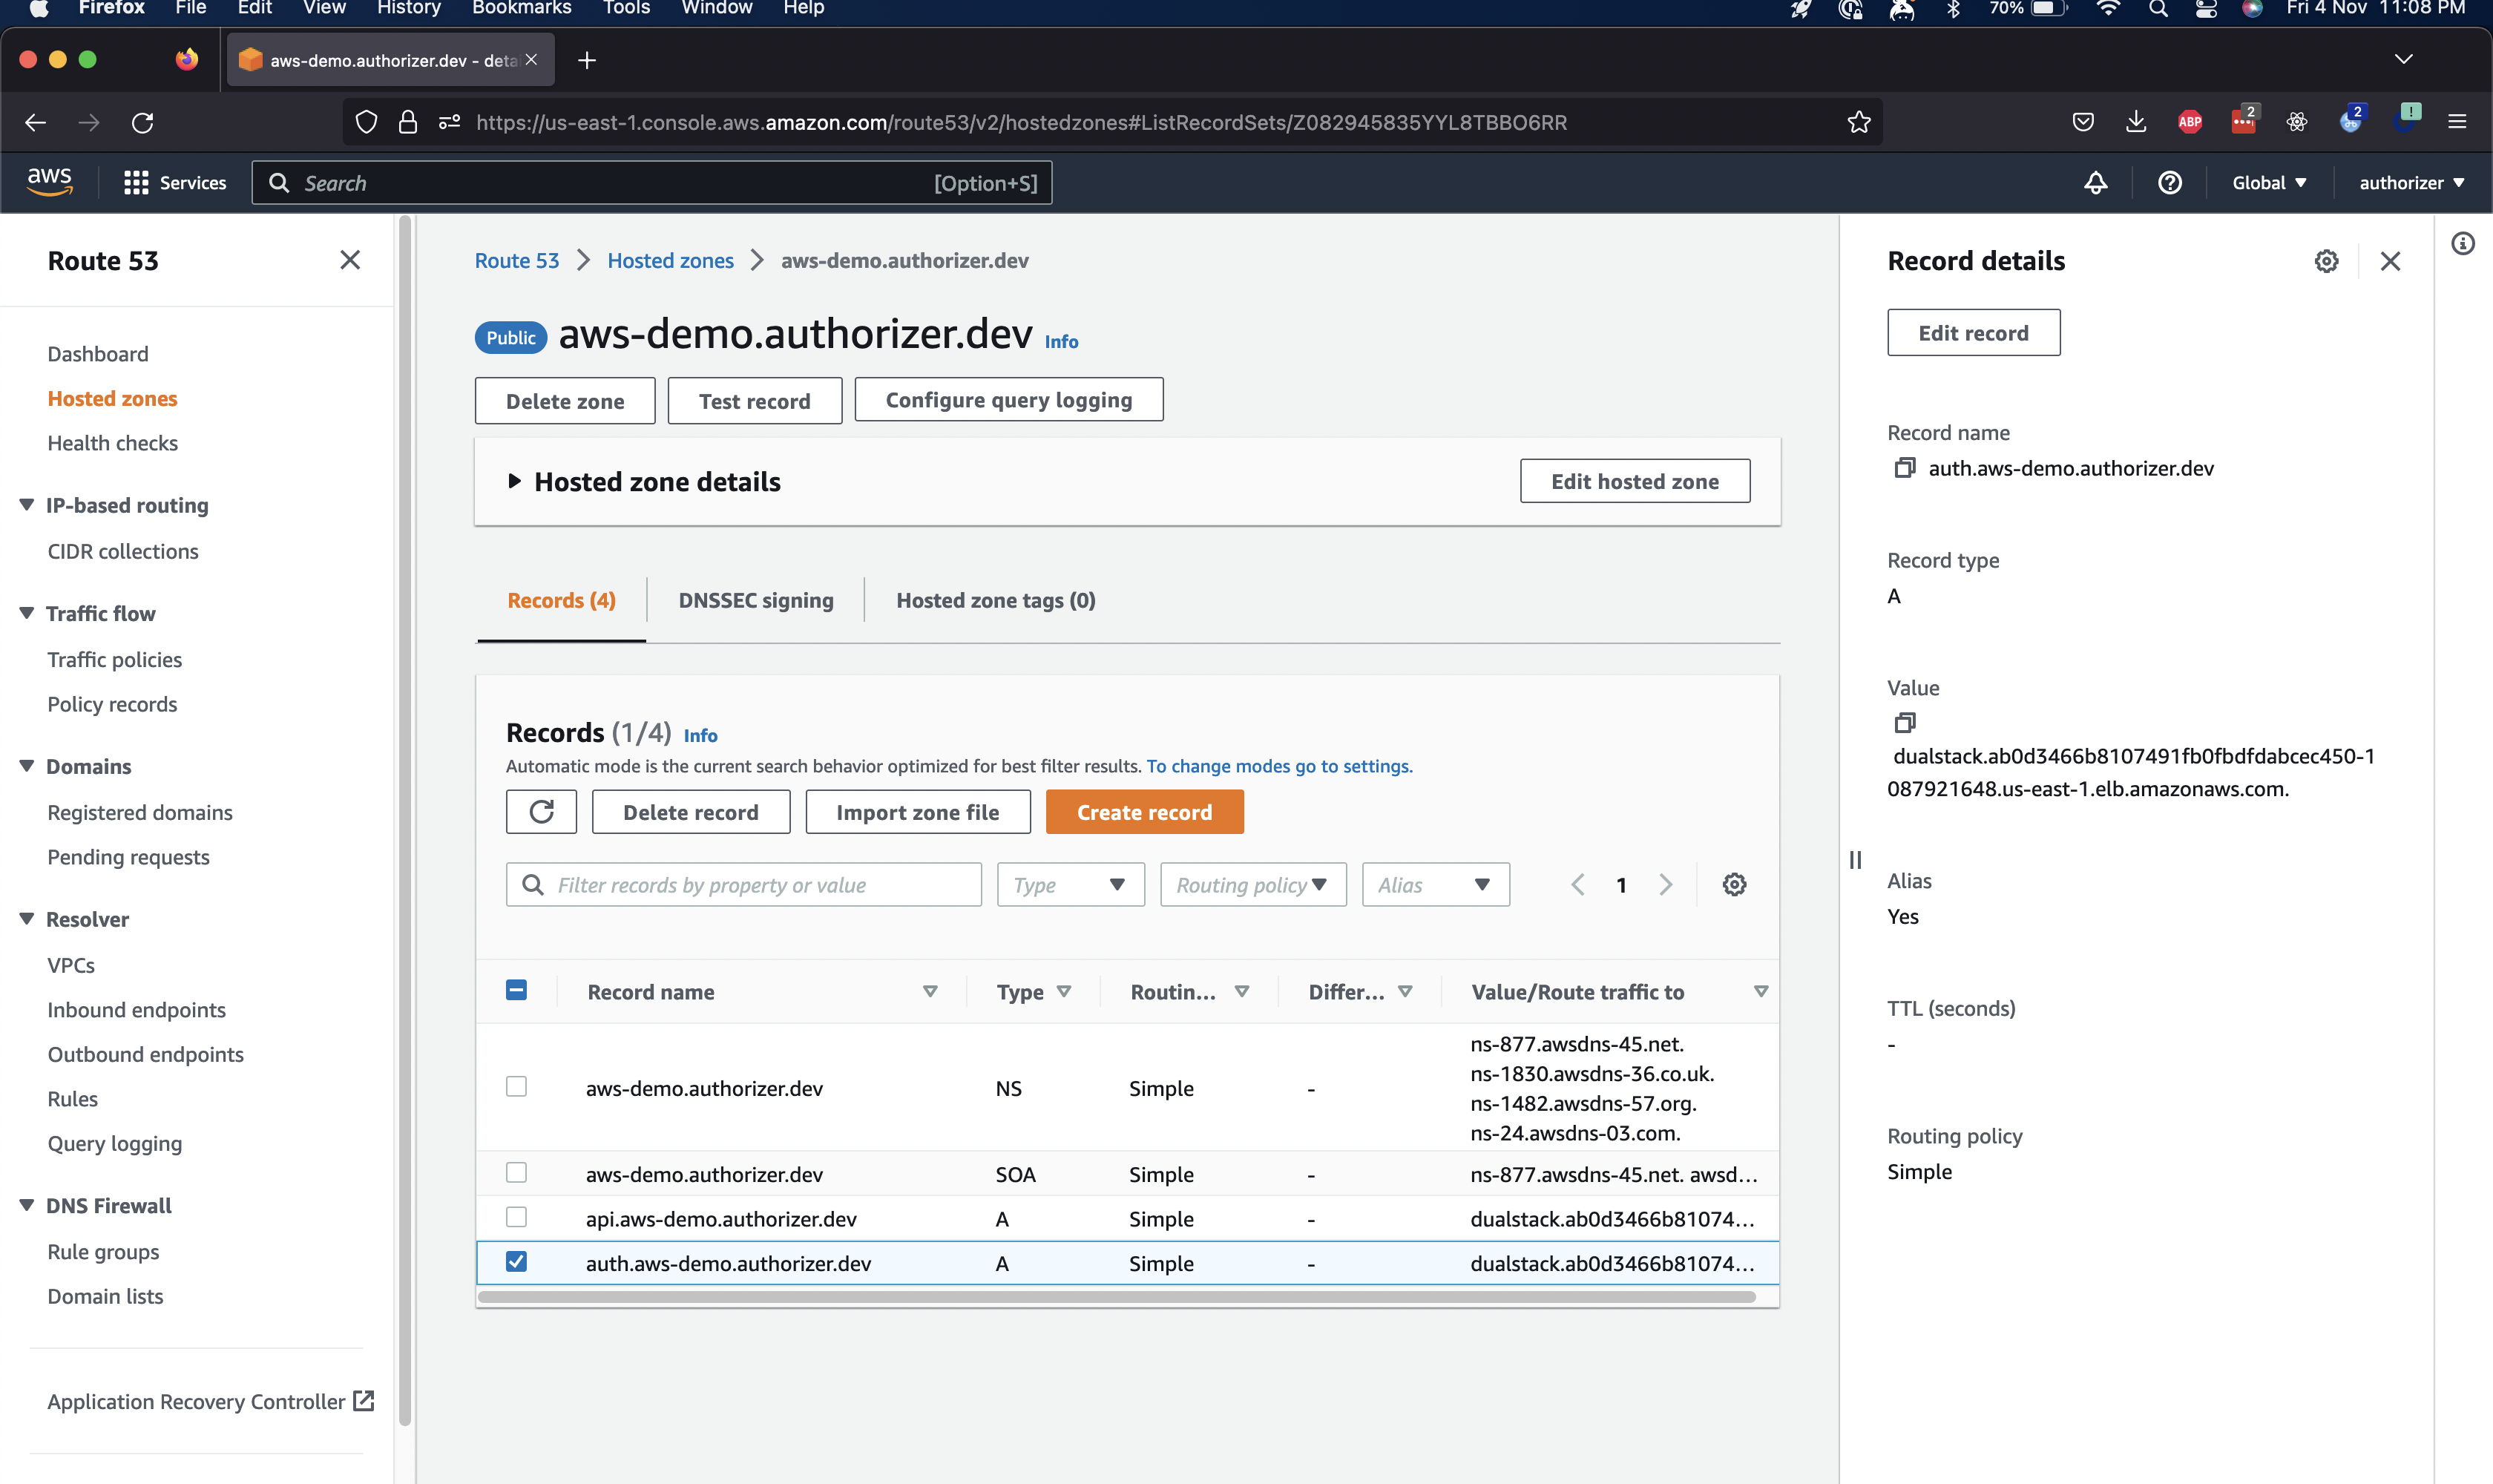
- Create Subdomain Record with classic load balancer and select loadbalancer created by nginx
Example: auth.aws-demo.authorizer.dev in below screenshot
Step 7: Create Cluster Issuer with dns01 challenge
Note: Change email & hostzoneID as per step5 in cluster_issuer.yaml
Cert manager will add txt record and will verify the domain details using this issuer.
kubectl apply -f cluster_issuer.yaml
Step 8: Create Ingress for authorizer
Note: Change authorizer domain as per your auth domain in authorizer_ingress.yaml
kubectl apply -f authorizer_ingress.yaml
Open your authorizer dashboard, configure admin password and get client ID.
Step 9: Deploy API resources
Note: Change authorizer_client_id to based64 encoded value authorizer client_id value obtained in step 7 in api.yaml L:8. Also change domain name in ingress section.
kubectl apply -f api.yaml
Step 10: Deploy frontend
You can deploy frontend to provider of your choice OR on the same stack. For demo purpose I have deployed it on Netlify and connected subdomain there.
Thats all you need. Hope it makes your life easier to deploy authorizer + any other service on AWS
For more information check
- Website: https://authorizer.dev
- Docs: https://docs.authorizer.dev
- Github: https://github.com/authorizerdev/authorizer
- React-SDK: https://github.com/authorizerdev/authorizer-react
- JS-SDK: https://github.com/authorizerdev/authorizer-js
- Youtube: https://youtube.com/playlist?list=PLSQGbUjHc6bpaAgCiQPzNxiUPr7SkDAFR
- Discord: https://discord.gg/Zv2D5h6kkK
- Github Sponsorship: https://github.com/sponsors/authorizerdev
- Buy me coffee: https://www.buymeacoffee.com/lakhansamani